- Dental Handpiece
-
Dental Burs
- Dental Carbide Burs
- CD Polishing Series
- Dental Gates Glidden Drill
- Dental Polishing Kits
- Dental Bur Blocks
-
Dental Diamond Burs
- TF Type(Taper Flat End)
- TR Type(Taper Round End)
- TC Type(Taper Conical End)
- FO Type(Flame Ogival End)
- SF Type(Straight Flat End)
- SO Type(Straight Ogival End)
- SR Type(Straight Round End)
- EX Type(Special Shape)
- BR Type(Ball Round)
- BC Type(Ball Collar Type)
- DI Type(Double Inverted Cone)
- SI Type(Single Inverted Cone)
- WR Type(Wheel Round Edge)
- RS Type(Rounded Shoulder)
- CR Type(Inlay Preparation)
- CD Type(Childern's dentistry)
- S Series(Short Shank)
- C Series(Coarse)
- F Series(Fine)
- EF Series(Extra Fine)
- SS Series(Super Short Shank)
- Dental Simulator
- Dental Unit
- Dental X Rays
-
Dental Endo Instruments
- Dental Air Sonic Endo Handpiece
- Dental Resin Filler Tool
- Gutta Percha Remover Spear
- Microscopic Endodontic Files
- Dental Apex Locator
- Electric Pulp Tester
- Endo Obturation System
- Dental Endodontic Motor
- Dental Caries Detector
- Dental Composite Warmer
- Dental PAD Laser
- Dental Rubber Dam
- Endo File Retrieval
- Endoactivator
- Gutta Percha Cutter
- Root Canal Irrigation System
-
Sterilization Equipment
- Autoclave Sterilizer
- Sterilizer Sealing Machine
- Ultrasonic Cleaner
- Dental Water Distiller
- Autoclavable Tray
- Dental Dry Heat Sterilizer
- Dental Instrument Drying Machine
- Dental Sewage Treatment System
- Disinfection Pouches
- Ozone Generator
- Self-Made Disinfectant Machine
- UV Sterilizer
- Dental Handpiece Cleaning Machine
- Dental Scaler
- LED Dental Light
- Dental Curing Light
- Teeth Whitening Machine
- Intraoral Camera
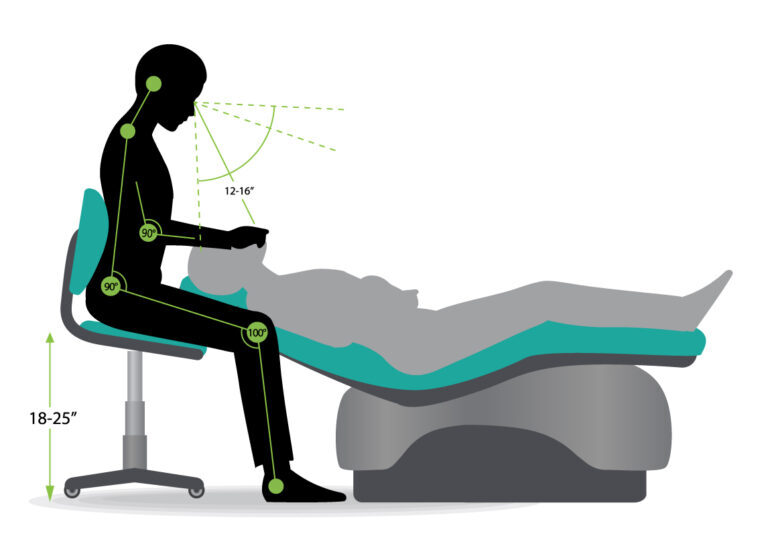
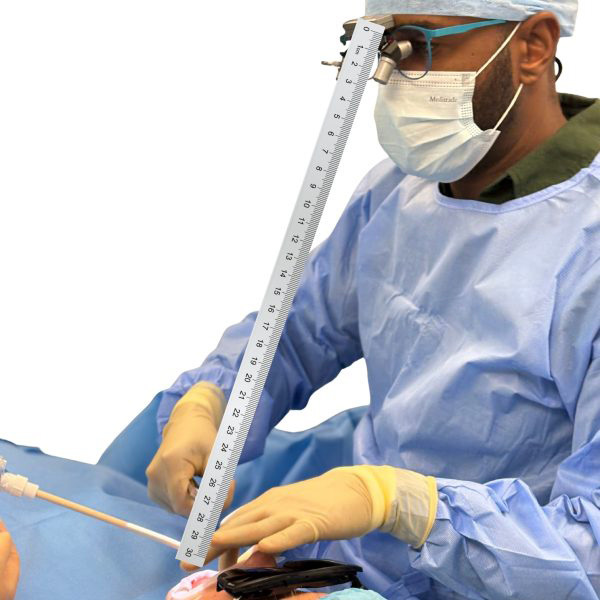
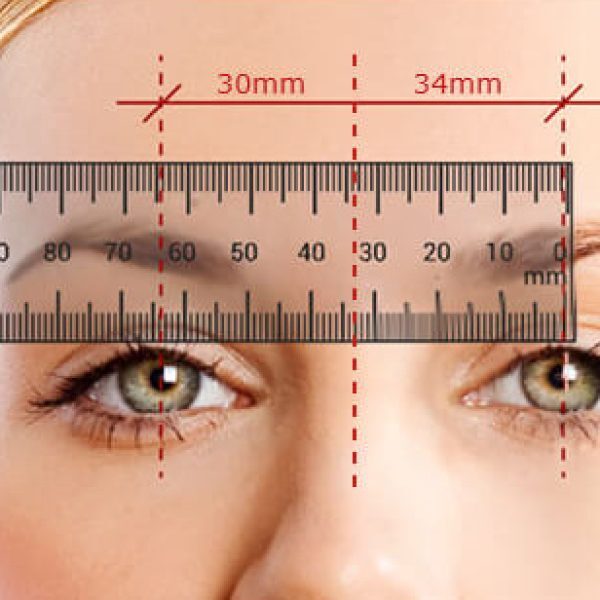
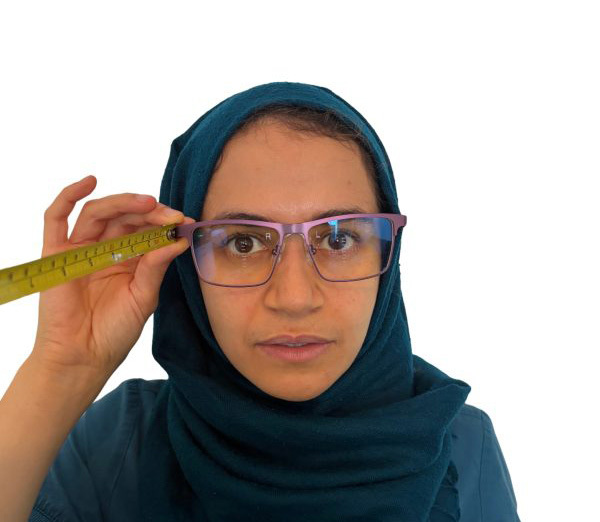
- Dental Loupes
- Dental Micro Motor
-
Dental Lab Equipment
- Centrifugal Casting
- Dental Amalgamator
- Drill Pin
- Polishing Machine
- Dental Wax Machine
- Dental Trimmer
- Dental Visualizer
- Dental Vibrator
- Aluminium Cartridge Heater
- Bunsen Burner
- Dental Agar Gel Mixer
- Dental Alginate Mixer
- Dental Anodizing Unit
- Dental Articulator
- Dental Casting Machine
- Dental Cement Mixer
- Dental Cutting Lathe
- Dental Electric Carving Knife
- Dental Electroplating Machine
- Dental Guide Template Plate
- Dental Gypsum Filter
- Dental Lab Vacuum Mixer
- Dental Plaster Cutting Machine
- Dental Plaster Mixer
- Dental polymerizer
- Dental Sandblasters
- Dental Squeezer Machine
- Dental Steam Cleaner Machine
- Dental Vacuum Cleaner
- Dental Welding Machine
- Denture Flask Press
- Dispensing Guns
- Intraoral Micro Sandblaster
- Lab Light Curing Machine
- Microcentrifuge
- Microtube Homogenizer
- Refractometer Analytical Instruments
- Ultrasonic Carving Knif
- Vacuum Forming Machine
- Wax Patterns
- Welding Fume Extractor
-
Dental Implant Machine
- Dental Implant UV Activator
- Implant Trephine Bur
- Automatic Mini Bone Tack Kit
- Dental Advanced Sinus Kit
- Dental Implant Angle Rulers
- Dental Implant Guide Kit
- Dental Implant Locator
- Dental Implant Motor
- Dental Implant Osteotome Instruments
- Dental Implant Screw
- Dental Implant Screw Driver
- Dental Implant Stability Tester
- Dental Implant Torque Wrench
- Dental Impression Trays
- Dental Mill Bone
- Implant Broken Screw Remover Kit
- Implant Instruments Storage Box
- Implant Surgery Instrument Kit
- Implant Taper Surgical Kit
- Piezosurgery Tips
- Piezosurgery Unit
-
Medical Equipment
- Finger Pulse Oximeter
- ECG Machine
- Baby Sound Monitor
- Patient Monitor
- B-Ultra Sound Scanner Machine
- Bilirubin Lights
- Blood Pressure Monitor
- Hematology Analyzer
- Infusion Pump
- Jaundice Tester
- Medical Suction
- Nebulizer Machine
- Oxygen Concentrator
- Semi-auto Biochemistry Analyzer
- Skin Analyzer Equipment
- Sleep therapy and ventilator
- Syringe pump
- TDP Lamp
- Urine Analyzer
- Vein Finder Light
- Dental Model
- Dental Air Compressor
- Dental Material
- Accessories
- Dental Office Furniture
- Dental Anesthesia System
- Dental CAD/CAM
- Dental Instruments
- Dental Laser
-
Dental Orthodontic
- Orthodontic Metal Bracket
- Orthodontic NITI Archwire
- Interproximal Reduction IPR
- Orthodontic Arch Turret
- Orthodontic Ceramic Brackets
- Orthodontic Cross Tube
- Orthodontic Direct Bond
- Orthodontic Facemask
- Orthodontic Hook
- Orthodontic Instruments
- Orthodontic Ligature Ties
- Orthodontic Rubber Bands
- Orthodontic Screw Driver
- Orthodontic Split Stops
- Orthodontic Spring
- Orthodontic Wax
- Orthodontic Black Background
 More than $50 free shipping
One Year Quality Guarantee
30-day money-back guarantee
More than $50 free shipping
One Year Quality Guarantee
30-day money-back guarantee